
Microsoft Fabric, a dynamic business intelligence platform, empowers the creation, sharing, and consumption of content. The efficient management of content lifecycles poses challenges, particularly during collaboration, testing, and ensuring timely delivery. This is where deployment pipelines play a crucial role.
This blog provides a comprehensive guide on leveraging deployment pipelines within Microsoft Fabric. Explore insights, examples, and best practices for configuring, creating, and automating the deployment process using the deployment pipelines REST APIs.
Deployment pipelines
Deployment pipelines are a versatile tool designed to automate the seamless delivery of content across various environments, including development, testing, and production. Leverage deployment pipelines to:
- Develop and test content in isolated and secure environments
- Deploy content with speed, frequency, and reliability
- Monitor and rollback content in case of issues
Prerequisites
To utilize the deployment pipelines feature, make sure you meet the following criteria
- You have an Microsoft Fabric subscription
- Create workspace
How to create deployment pipelines directly from workspace?
Follow the steps to create deployment pipelines
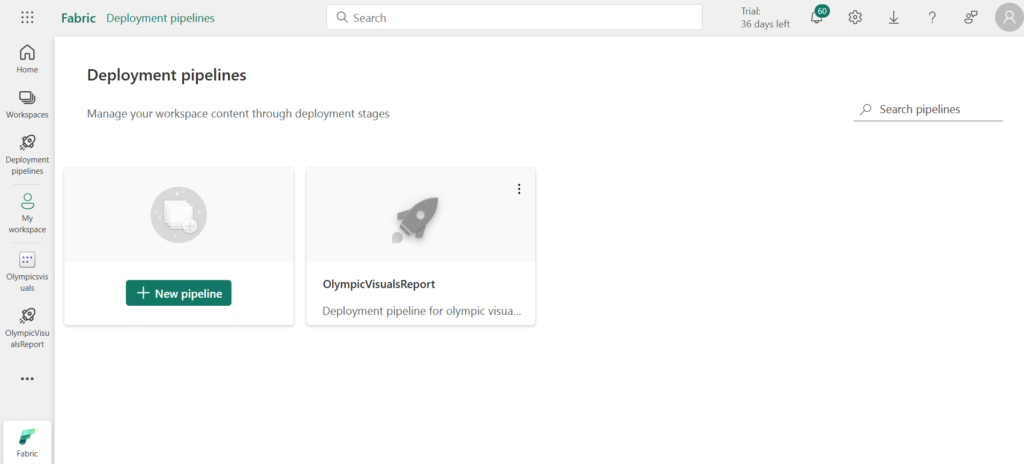
- Choose the desired workspace for creating deployment pipelines and click on “Deployment pipelines.”

- Click on“New Pipeline”.
- • In the “Create a deployment pipeline” dialog box, enter the pipeline name and description (optional), then click “Next.”

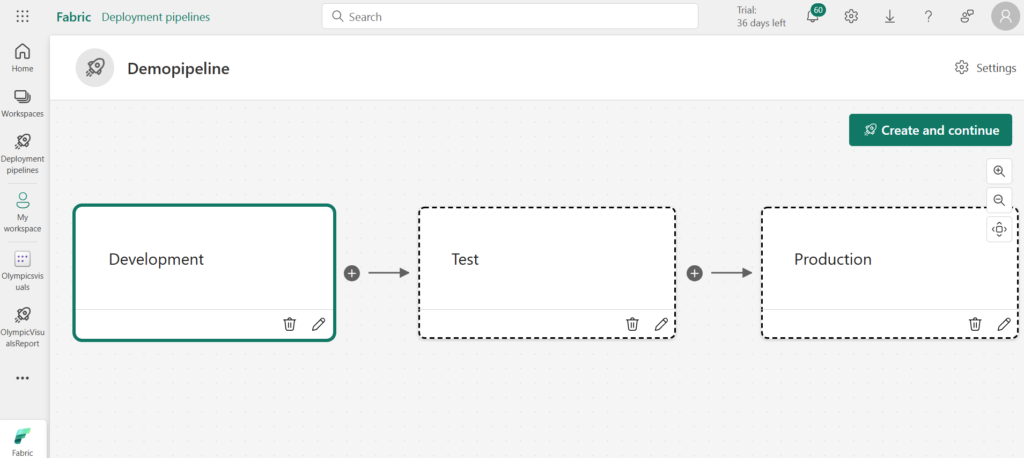
- Three default stages of pipelines are
- Development
- Test
- Production
- You can modify the number and name of the stages. You are allowed to have between 2 and 10 stages.
- Click +Add to add new stages.
- To delete stages, simply click on the delete symbol.
- Once you finalized, Click on Create.
Assigning and Unassigning the workspace
Assigning each workspace to its corresponding pipeline stage allows for a seamless workflow.
- To assign a workspace to a pipeline stage, ensure the stage is unoccupied. If the desired stage already has a workspace assigned, unassign the current workspace before assigning a new one. Be mindful of the workspace conditions outlined in the limitations section.
Assign a workspace
Follow these steps to assign a workspace
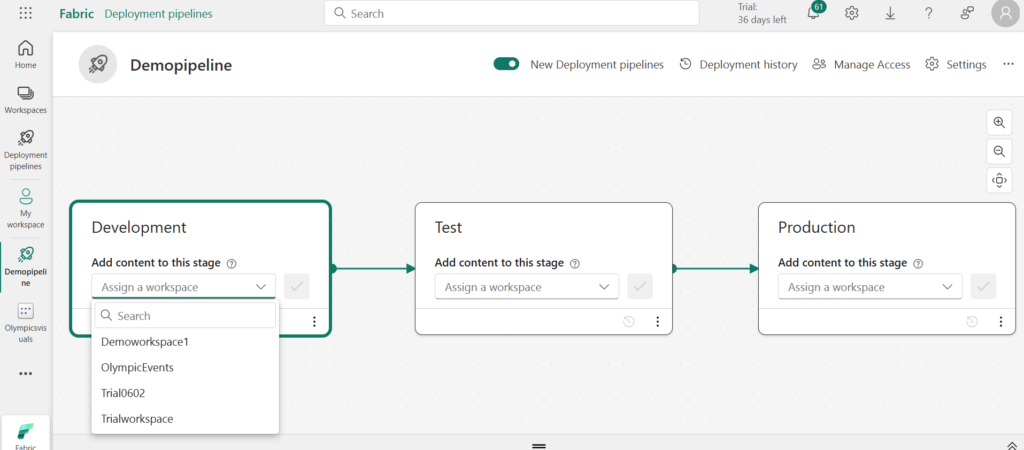
- In the desired stage, expand the “Choose a workspace to assign to this pipeline” dropdown.
- Select the workspace from the dropdown.
- Click on “Assign a workspace”
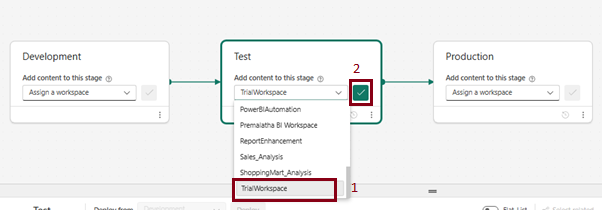
For pipelines containing more than three stages, utilize the arrows located in the top-right corner to move between stages.
- Choose the appropriate workspace for the each stage, then click the ✔ (tick) icon to save the selection.
Unassign a workspace from pipeline stage
Follow these steps to remove a workspace from any pipeline stage and assign a different workspace
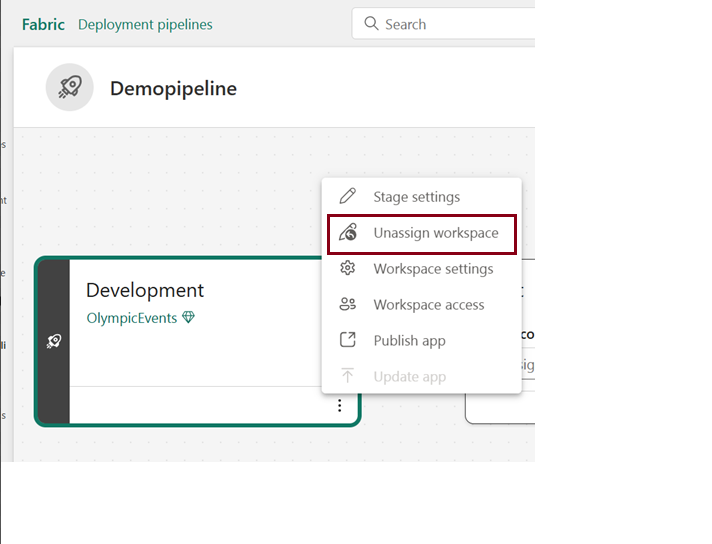
- Navigate to the stage from which you want to remove the workspace and click on the three dots (ellipsis) icon.
- Choose “Unassign workspace” from the menu.
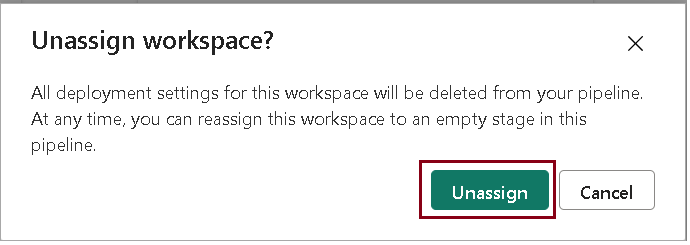
- In the “Unassign workspace” dialog box, select “Unassign“.
A public stage in a deployment pipeline is a stage that allows anyone who has access to the pipeline to view and consume the content of the stage, without seeing the pipeline details. It is useful for sharing the final pipeline results with users or testing the content in an environment similar to production.
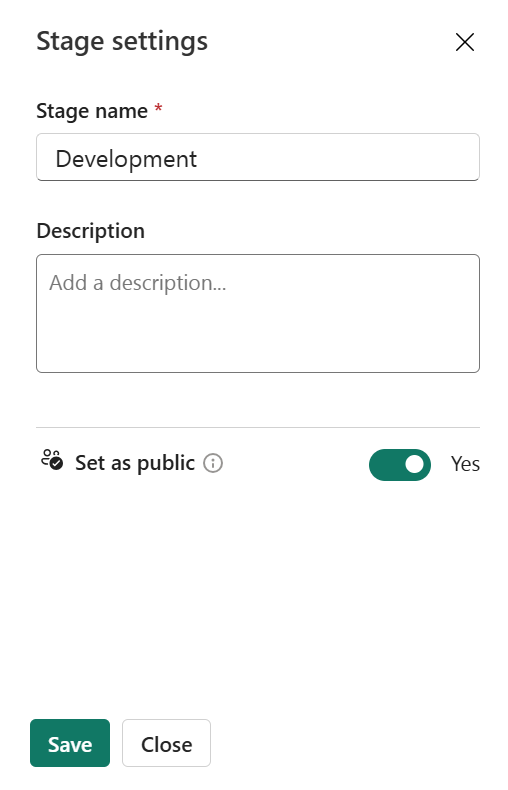
The final stage of the pipeline is set to public by default. To modify the public status of a stage,
- Go to its settings and toggle the “Make this stage public” option.
Deploy
You have the flexibility to move your content between pipeline stages once you’ve made changes or performed necessary actions. For example, you can deploy content from development to test after making modifications or from test to production upon successful verification. If needed, you can also deploy content in the backward direction. The deploy content to an existing workspace section has more details on how to do this.
There are three ways to deploy your content in a pipeline
- Full Deployment – Shift all your content to the next stage.
- Selective Deployment – Choose specific content to move to the next stage.
- Backwards Deployment – Move your content to an earlier stage in the pipeline.
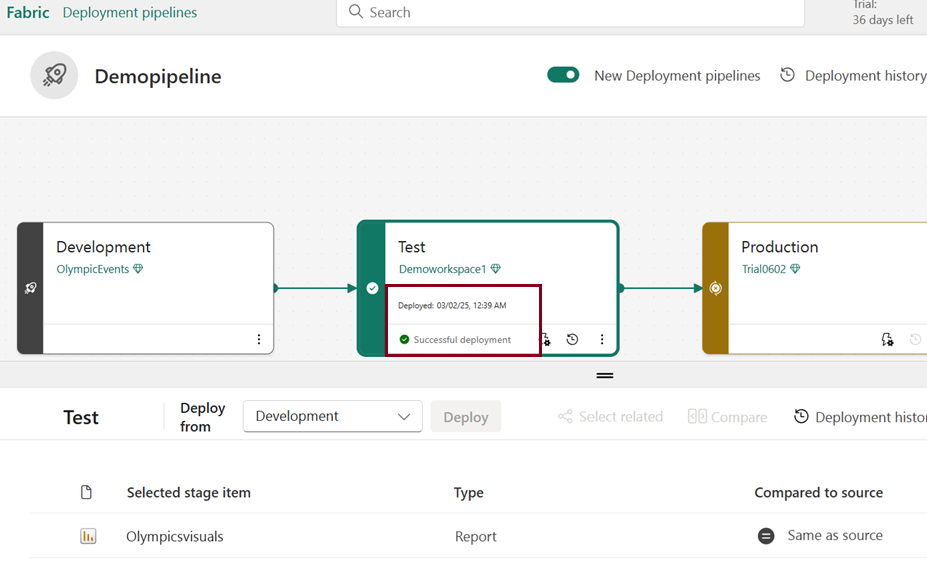
- Click the Deploy button at the bottom of the stage to move content to the next stage in the deployment pipeline.
- Stage cards show the timestamp of the last deployment for that particular stage.
- Deployment time offers valuable insights into the last stage update and aids in tracking time intervals between deployments.
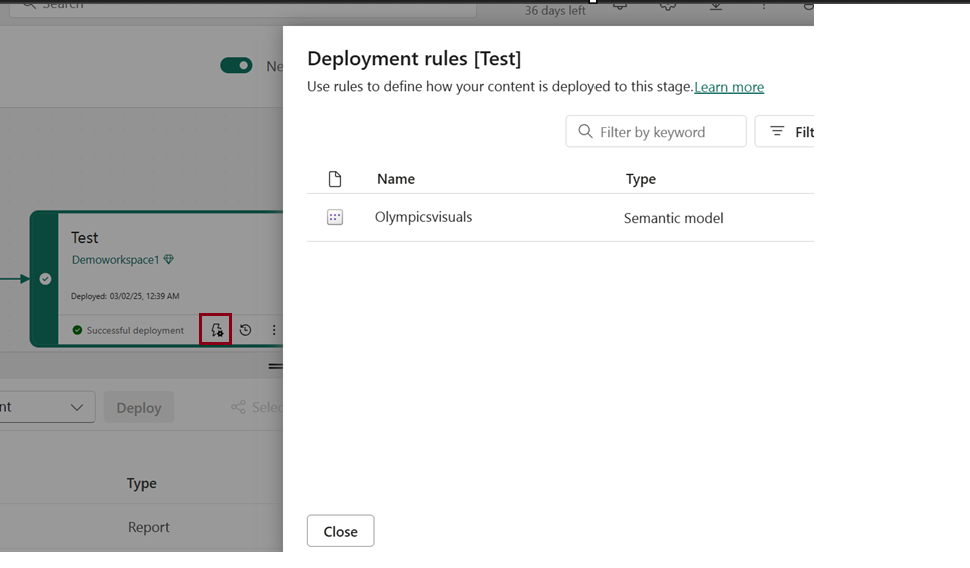
How to create deployment rules?
Deployment rules are a way to customize the content of your pipeline stages when you deploy them.
Follow the steps to create deployment rules
- Select the pipeline stage where you want to create the rule and click on Deployment rules.
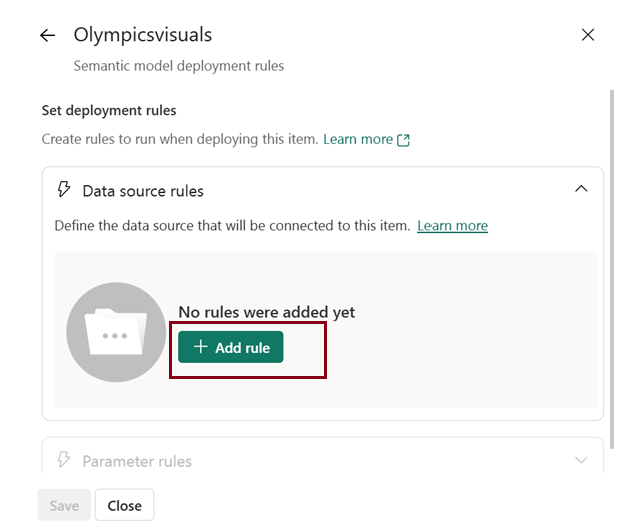
- Select the item and then select the type of rule you want to create, such as data source rule or parameter rule.
- Click on Add rule and select the data source or parameter name to be updated.
- Enter the new value for the data source or parameter and click on Save.
Note: The window displays a list of items eligible for rule creation, including dataflows, semantic models, datamarts, notebooks, and paginated reports.
| Tags | Microsoft Fabric |
| Useful links | |
| MS Learn Modules | |
Test Your Knowledge |
Quiz |